
Chef Suzanne’s Spring Dinner Menu Inspired by Provence
Carolyne Kauser-Abbott · Provencal Recipes · Seasonal Menus · TasteSuzanne Kay was born in Canada and now lives in Provence. After her art studies, wanderlust took over with travels to Santorini, Greece, the Isle of Arran in Scotland, Vancouver, Canada and eventually to a village in the Vaucluse. Suzanne honed her culinary skills in restaurant kitchens and now offers Plate Full of Dreams cooking classes and multi-day culinary escapes in Provence. We are thrilled to share Suzanne’s Spring Dinner Menu below.
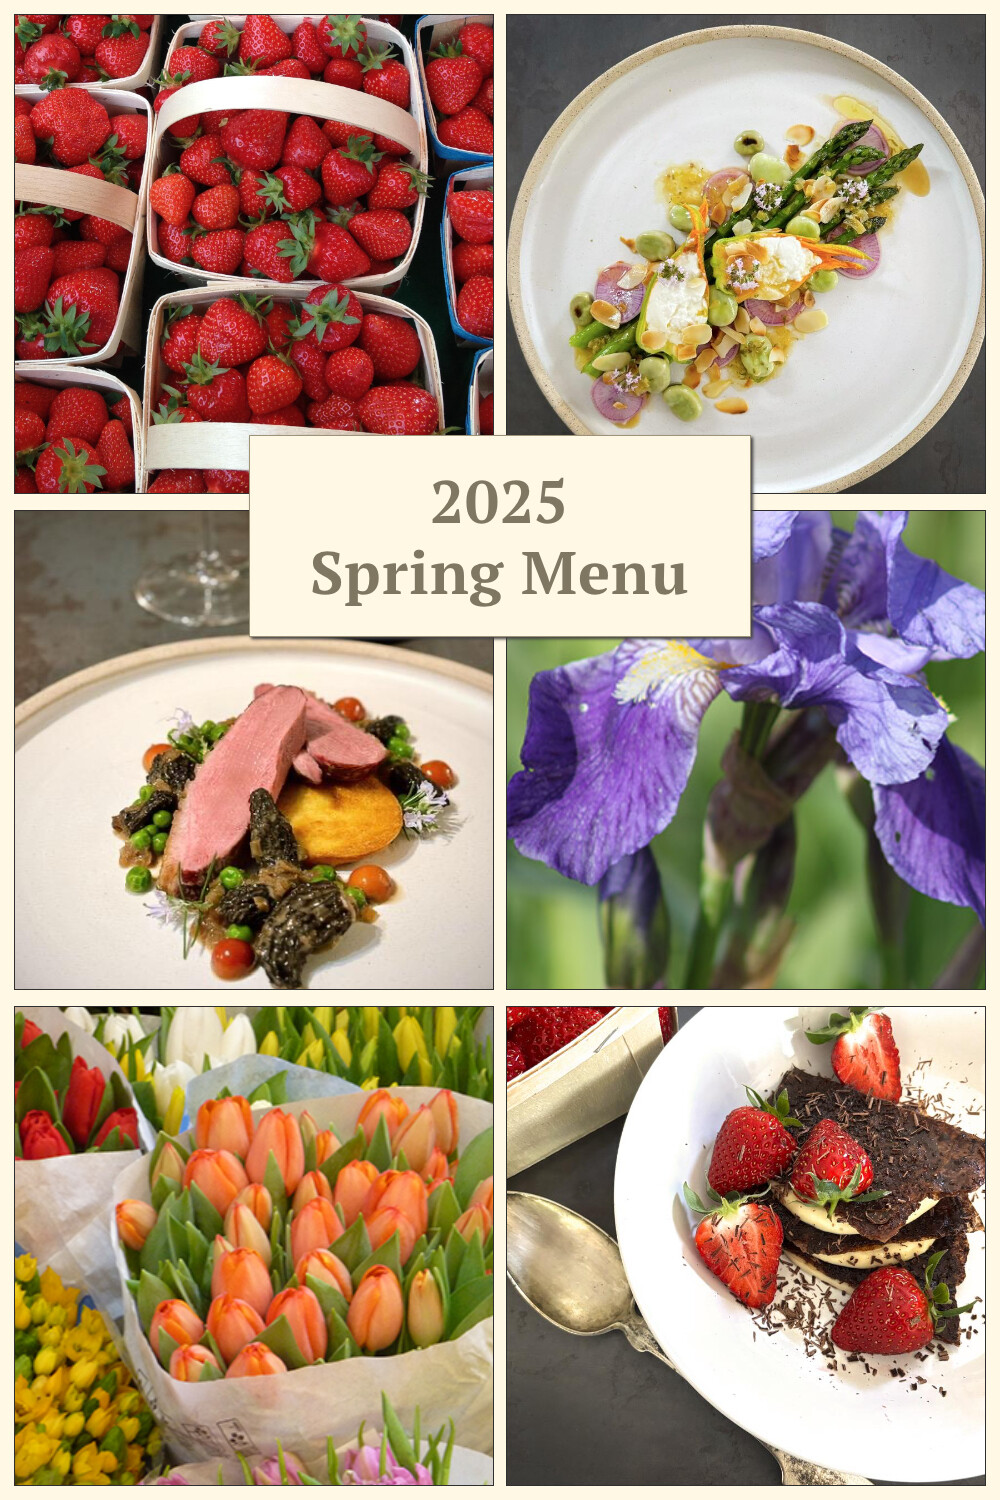
A Chef’s Spring Dinner Menu
In our part of Provence, spring comes with colour, fresh and alive, blanketing the hills with wildflower blossoms. The vines are coming to life, and the new season’s grapes are starting to form under pale green leaves. Within this seasonal awakening, we have a bounty of local wild and cultivated delicacies to enjoy. I spend time foraging for the delicate stalks of wild asparagus and fresh herbs, or choosing locally grown organic varieties, taking advantage of the first courgette blossoms (which are not destined to bear fruit) and rich, fresh cheeses, or the deeper flavours of fresh morel mushrooms.
There is one roundabout just outside the village, known for fierce commercial competition… for strawberries! Three local farmers, all claiming to have the best strawberries, set out their stands and signage and draw crowds from the surrounding villages. I, of course, have my favourite – old Guillaume, who is out there every day until the last strawberry has been sold. If you are ever in the neighbourhood during the season, his are definitely the best.
Bon appétit!
A Starter Course That Satisfies All of the Senses.

Salad of Asparagus, Stuffed Courgette Flowers, and a Preserved Lemon Dressing
Equipment
- piping bag, reusable, with set of tips (optional)
Ingredients
Preserved Lemon Dressing
- 1/2 preserved lemon seeds removed
- 1 tsp Dijon mustard
- 1 tsp honey
- 1 tbsp water or lemon juice
- 1/2 tsp dill dried
- 6-8 fresh mint leaves rinsed
- 100 g olive oil
For the Salad
- 16-20 asparagus spears
- 8-12 radishes
- 80 g fresh fava beans shelled, or unshelled if they are young and tender
- 25 g flaked almonds
- 4 courgette flowers fresh
- 4-6 tbsp sheep's milk cheese fresh (preferably Corsican brocciu)
- splash olive oil
- knob butter
- salt to taste
Instructions
For the Preserved Lemon Dressing
- Put all ingredients into a container and blend with an immersion blender until fairly smooth.
- Taste and adjust the seasoning as required.
For the Salad
- In a dry frying pan, gently toast the flaked almonds until golden, swirling the pan to get an even cook. Be careful not to burn them.
- Trim the asparagus, removing the woody ends.
- Heat a large frying pan with lid, and add a splash of olive oil.
- Rinse the asparagus and put it in the frying pan, sprinkle with some salt, and cover with the lid. Cook the asparagus in two batches if you feel they are too crowded.
- Sauté the asparagus for several minutes, shaking the pan to achieve an even cook on all surfaces, adding a knob of butter towards the end. Do not overcook the asparagus! It should still have a slight crunch.
- Remove asparagus from the frying pan onto a plate to ensure they don't continue to cook and stay beautifully green.
- Boil some salted water, and cook the fava beans for 1 minute.
- Remove the fava beans and plunge them in cold water to stop the cooking process and retain the colour.
- Gently open the petals of the courgette flowers and pinch out the stamen.
- Loosen the sheep milk cheese with a fork or small whisk, adding a small amount of cream if it is too stiff.
- Pipe the cheese into the flowers (or spoon in if you don't have a piping bag), and twist the ends of the petals to close the blossom around the cheese.
- Put the flowers into the fridge to firm up until you are ready to serve.
- Quarter or slice the radish. If they are going to sit for a while, splash them with some lemon juice or store them in some cold water to stop them from discolouring.
- Assemble the vegetables on the plate, topped with the stuffed courgette flower and toasted almonds.
- Spoon over the dressing and finish with thyme flowers or other edible flowers if available or desired.
Notes
If you can't find brocciu or sheep's milk cheese, a good quality ricotta can also work.
The Main Course with Seasonal Flavours
Duck Breast cooked at Low Temperature, Morels, Peas, and Panisse
Equipment
Ingredients
For the duck breasts and morels
- 2 duck breasts (magret de canard)
- salt to season the duck breasts
- 25 g morel mushrooms dried and rehydrated
- 1 small red onion or 2 shallots finely chopped
- 2 cloves garlic minced
- 100 g fresh peas or frozen and defrosted
- 200 mL white wine
- 1 tsp white miso
- 1 tsp honey
- 1 tsp fresh thyme or 1/2 tsp dried
- salt and freshly ground black pepper to taste
- 1 tbsp butter optional
For the panisse
- 250 g chickpea flour
- 1 1/2 tsp salt
- 2 tsp olive oil
- 1 L water
- olive oil for pan frying
Instructions
For the duck breasts
- Take the duck breasts out of the refrigerator 30 minutes in advance so they can come up to room temperature. Season both sides with salt.
- Preheat your oven to 80°C (175°F).
- Remove any excess skin on the edges of the duck breasts, and score the skin with a sharp knife without cutting into the flesh. This helps to avoid any shrinkage when cooking.
- Sear the breasts in the dry frying pan, skin side down, until you get a nice colouring and the fat has been well rendered.
- Flip the breasts over and brown them on the flesh side for about 2 minutes.
- Arrange the breasts in an oven dish, skin side on top. Insert a thermo-probe in the heart of one of the breasts and bake for approximately an hour until the internal temperature of the meat reaches 63°C (145°F). The cooking time may vary depending on the oven.
For the morels
- Place the morels in a heatproof container and pour over 300mL of boiled water.
- Leave the morels to rehydrate for 30 minutes.
- Using the frying pan in which you seared the duck breasts, sauté the onion on medium heat in the duck fat until softened. You only need a tablespoon or two of fat, so pour off the extra if necessary.
- Add the garlic and continue to cook for a further minute or two.
- Add the white wine and reduce the liquid by half.
- Scoop the morels from the soaking liquid and add them to the frying pan.
- With a fine mesh sieve, pour the morel liquid into the pan, making sure not to add the gritty sediment that has settled on the bottom of your container.
- Allow the mixture to cook on medium heat with a lid on, for at least 30 minutes.
- Add the miso and honey and continue cooking the mixture uncovered to reduce the liquid until it nicely coats the morels.
- Add the peas, a good grind of pepper, and salt to taste, and cook for a further minute.
- Remove the pan from the heat, and if you wish, add a tablespoon of cold butter, stirring it into the mixture for a lovely glossy finish.
For the panisse
- Lightly oil a rimmed baking tray.
- Put the chickpea flour in a medium saucepan along with the salt and olive oil.
- Gradually add the water and stir with a sturdy whisk until the mixture is smooth.
- Bring the mixture to a boil over high heat, stirring frequently until it just begins to boil and thicken.
- Reduce the heat to medium-low and continue to cook, stirring well with a spoon or spatula, until the mixture thickens and pulls away from the side of the pan, about 10 minutes.
- Scrape the mixture into the oiled pan, smooth the top, and let it cool completely.
- When ready, cut the panisse into the size and shape that you desire.
- Heat several centimetres of olive oil in a heavy frying pan.
- Once the oil is hot but not smoking, place the panisse pieces in the pan, making sure not to overcrowd them.
- Fry the panisse on both sides until nicely golden brown, then remove them and drain on a paper towel.
- Keep the panisse in a warm oven until ready to serve.
Notes
A Sweet Finish to a Fine Meal.
Chocolate Mille-Feuilles with Crème Fraîche Custard and Fresh Strawberries
Equipment
- baking sheet, rimmed, non-stick 10x15 (You will need two baking sheets for this recipe.)
Ingredients
For the pastry
- 3 filo pastry sheets (phyllo pastry)
- 30 g cocoa powder unsweetened
- 55 g olive oil
- 6 tbsp sugar
For the custard
- 250 mL milk, whole
- 3 eggs
- 100 g sugar
- 3 tbsp cornstarch
- pinch salt
- 180 g crème fraîche or sour cream
Instructions
For the pastry
- Place a rack in the centre of the oven and preheat to 175°C (350°F).
- Line a baking sheet with parchment paper and have two more sheets of parchment and another baking sheet at hand.
- Stir the olive oil and cocoa together in a bowl and set it aside for the moment.
- Stack the filo sheets and cut the pastry in half. You'll work with one piece of filo at a time and should keep the remainder covered with a clean kitchen towel.
- Place a piece of filo on the parchment-lined baking sheet, brush it with some of the cocoa-oil, and sprinkle it with 1 to 2 tablespoons of the sugar. Place a second sheet of filo on the first, brush it with cocoa-oil, and sprinkle with sugar. Repeat with one more filo sheet.
- Cover the stack with a piece of parchment paper and repeat the stacking, brushing, and sprinkling with the remaining 3 sheets of filo.
- Cover the sheets with a piece of parchment paper and top with a baking sheet, which will weigh the filo and keep it from puffing or curling.
- Bake the filo for 10 to 12 minutes.
- Flip the batch and continue to bake for a further 5 minutes until the sheets are shiny and crispy.
- Transfer the baking sheet to a wire rack, remove the top baking sheet and separate the two stacks, allowing the filo to cool to room temperature.
- When the filo is cool, each stack should now be fused and feel like one flaky, crispy sheet.
For the custard
- Heat the milk in a saucepan to just below boiling.
- Mix the eggs, sugar, salt, and cornstarch in a heatproof bowl and beat them until the mixture becomes pale yellow and slightly thickened.
- Slowly pour the milk into the egg mixture, stirring constantly.
- Pour the mixture back into the saucepan and gently cook it until it is quite thick. It is important to stir constantly so the mixture doesn't become lumpy.
- Remove the saucepan from the heat and stir in the crème fraîche.
- Refrigerate the mixture until you are ready to assemble the mille-feuilles.
Assembling the mille-feuilles
- Break the cocoa filo into shards. Layer the shards alternating with the crème fraîche custard, finishing with a cocoa shard. Add a few fresh strawberries to the plate and shave some dark chocolate over the surface.
Notes
And, for Pinterest fans:
Full day Bandol & Cassis Discovery Wine Tour from Marseille
Begin your journey in the medieval village of Le Castellet, perched elegantly atop a wooded hill overlooking lush vineyards. Next, venture into the renowned Bandol wine region.
Book this Experience
No Comment